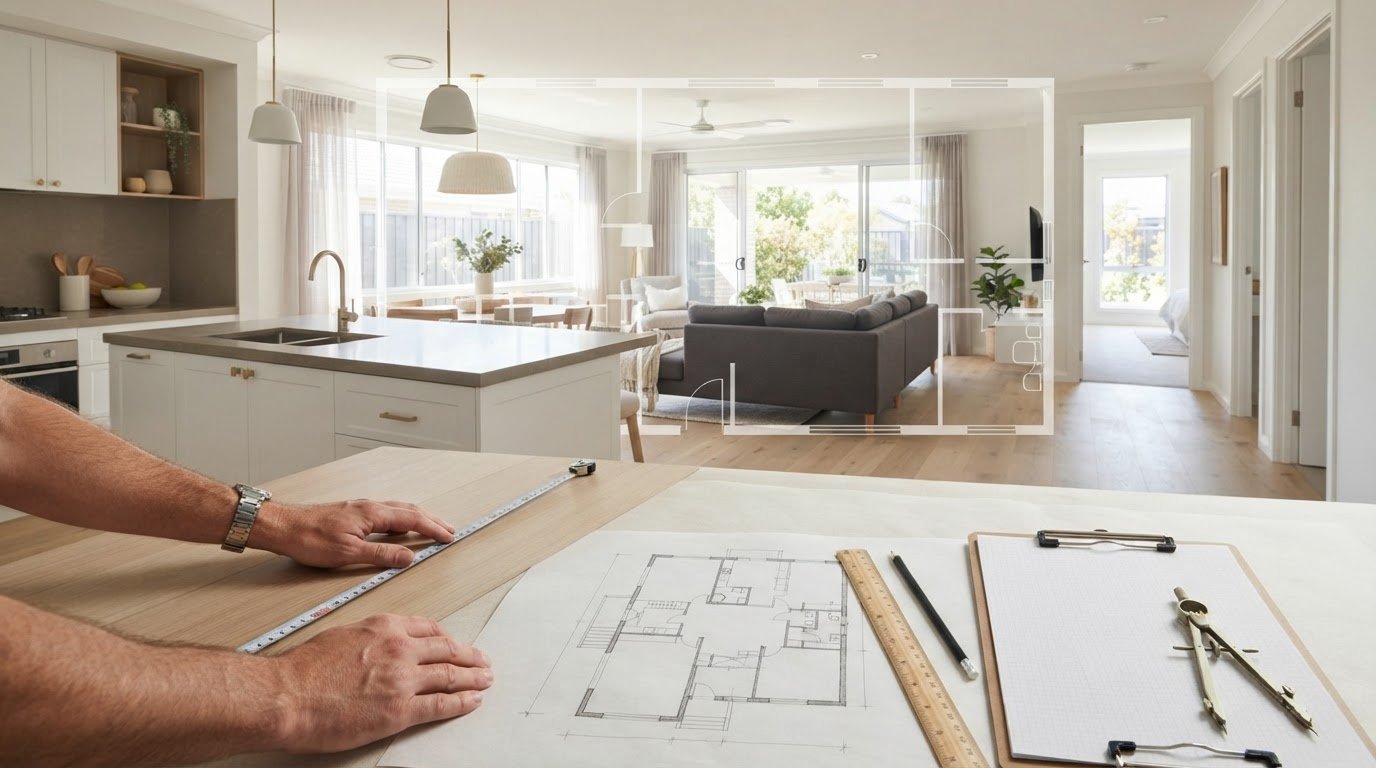
A useful floor plan depends on accurate measurements, not fancy software. If you’re wondering how to create a property floor plan, it can be hard to know where to start: which rooms and openings should you include, and how precise do your measurements need to be? A confusing sketch can leave buyers with more questions than answers.
A clear plan should represent the home faithfully, but you don’t have to be a designer to make a useful start. Measure each space, record doors, windows and other important details, then sketch and check the layout so it’s easy to follow.
You’ll also learn when a hand-drawn plan or digital tool may suit your needs, and when professional preparation could help present a property for sale. A simple sketch can be a useful first draft. For listing materials, sellers may also consider a professionally prepared plan. The aim is straightforward: give prospective buyers a clearer sense of how the home connects, room by room.
Key Takeaways
- Learn how to create a property floor plan by recording the rooms and features buyers need to understand the layout.
- Follow a practical measuring sequence, from gathering simple tools to checking room dimensions and your sketch.
- Choose a hand sketch, digital tool or professionally prepared plan based on how you’ll use the finished drawing.
- Check dimensions, labels and layout before sharing the plan. A tidy appearance can’t make inaccurate details reliable.
- Use your floor plan alongside property photography to give prospective buyers a clearer sense of how the home’s spaces connect.
What a property floor plan shows and why it matters to buyers
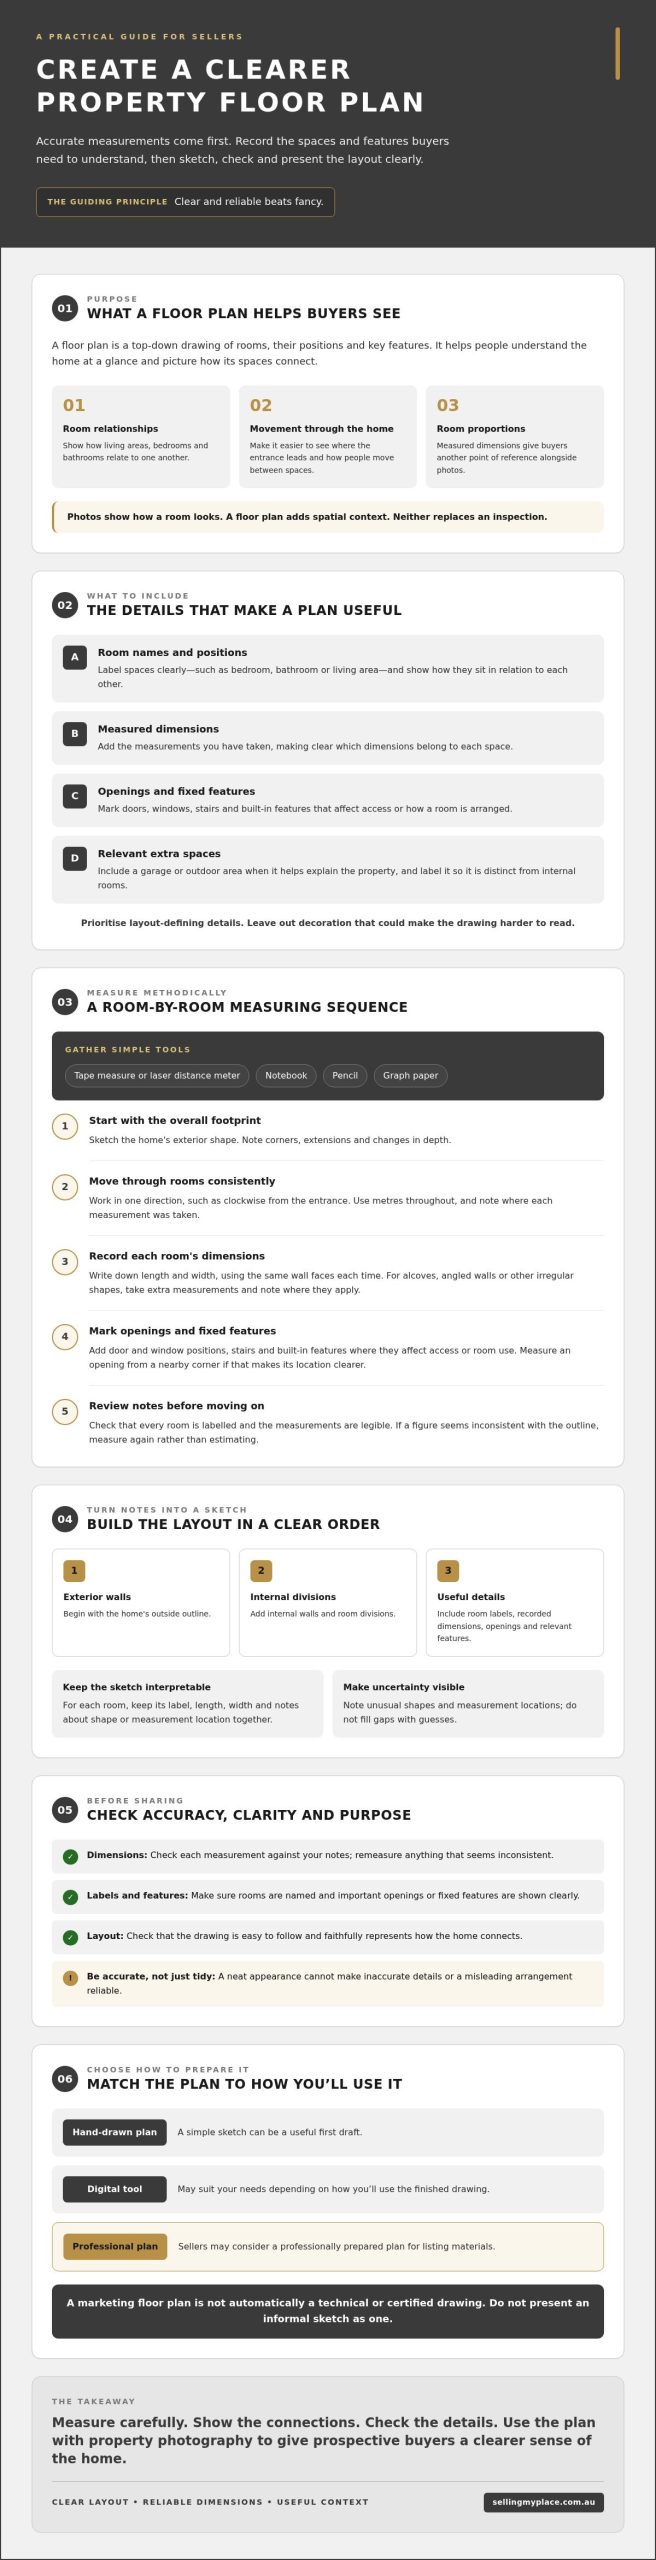
You don’t need design expertise to make a useful start. Pay attention to how rooms connect, where people enter and move through the home, and which features shape the layout. A property floor plan is a top-down drawing showing rooms, their positions and key features, helping someone understand the home at a glance.
The Floor plan reference explains the common elements of this kind of drawing. For a property listing, the purpose is practical: help buyers picture the layout and compare spaces. A marketing floor plan isn’t automatically a technical or certified drawing, so don’t present an informal sketch as one. For a broader look at how plans fit into presenting a home for sale, see this residential property listing services guide.
What details belong on a property floor plan?
As you consider how to create a property floor plan, focus on details that help readers interpret the layout without cluttering the page. Include:
- Room names and positions: Label spaces clearly, such as “bedroom”, “bathroom” or “living area”, and show how they relate to one another.
- Measured dimensions: Add room measurements you’ve taken, and make clear which dimensions belong to each space.
- Layout features: Mark doors, windows and stairs, along with built-in features that affect how a room is arranged or accessed.
- Relevant extra spaces: Show a garage or outdoor area if it helps explain the property, and label it so readers can distinguish it from internal rooms.
Not every detail needs to appear. Prioritise features that change how someone understands the home, and leave out decorative touches that could make the drawing harder to read.
How a clear plan helps a buyer understand the home
Photos can show a bright kitchen or welcoming lounge, but they don’t always explain where those rooms sit in the overall layout. A plan can show whether the living area connects directly to the kitchen, how bedrooms relate to the bathroom, and where the main entrance leads. Buyers can use those relationships to picture everyday movement, from bringing shopping inside to moving between shared and private spaces.
Room dimensions also give readers a way to compare proportions. A bedroom may look spacious in a carefully framed photo, while its measurements offer another point of reference. Neither gives a complete experience of the property, and a floor plan doesn’t replace an inspection. It adds spatial context.
Clear labels and reliable dimensions help buyers understand the layout without guesswork. Keep the drawing honest: a neat presentation is helpful, but it can’t make inaccurate measurements or a misleading arrangement reliable.
How to measure your home and sketch a property floor plan
A dependable sketch starts with a repeatable method, not a perfect drawing. As you work through how to create a property floor plan, measure each space carefully, write figures down straight away and mark anything unusual rather than filling gaps with guesses.
Prepare a simple room-by-room measuring checklist
Gather a tape measure or laser distance meter, notebook, pencil and graph paper. Start with the home’s overall footprint, then move through the rooms in one consistent direction, such as clockwise from the entrance. Use metres throughout, and note where each measurement was taken so you can interpret it later.
- Sketch the outline. Draw the exterior shape of the home, noting corners, extensions or changes in depth.
- Measure each room. Record its length and width, using the same wall faces each time. For alcoves, angled walls or other irregular shapes, take extra measurements and note where they apply.
- Record openings and fixed features. Add door and window positions, stairs and built-in features where they affect access or room use. Measure the position of an opening from a nearby corner if that will make its location clear.
- Review your notes. Check that every room is labelled and the measurements are legible. If a figure seems inconsistent with the outline, measure again rather than estimating.
A room-by-room checklist can help you avoid missing spaces or repeating measurements. For each room, leave space for its label, length, width and any notes about shape or measurement location. The how to draw a floor plan guide also outlines a practical approach to measuring spaces and adding features.
Sketch the layout without losing important details
Draw exterior walls first, then add internal walls and room divisions. Your first sketch doesn’t need to be to scale. Focus on representing the layout faithfully and leaving enough space for notes. Mark entrances, doors, windows and stairs with simple, consistent symbols, and label rooms as you go.
Include a key for symbols that might not be obvious. Leave space beside each room for dimensions and notes, and show which way a door opens only if it helps explain movement through the space. These details can make the difference between a sketch that’s easy to follow and one that leaves buyers guessing.
Once the measurements and rough layout are in place, decide whether to refine the sketch yourself or consider a professional floor plan for listing materials. If you’re preparing a property for sale and want to discuss floor plans, contact the team.
How to turn your measurements into a clear, scaled floor plan
Once you’ve checked your measurements, turn them into a drawing that’s easy to read. Scale is the relationship between a real measurement and the size shown on the page. For example, if you choose a scale where 1 cm represents 1 m, a 4 m wall should appear 4 cm long.
Scale keeps drawn proportions connected to recorded measurements. Use the same scale throughout the plan. Otherwise, rooms may look larger or smaller than they are in relation to one another. A scaled drawing can still contain errors, so check it against your notes rather than assuming the method or tool has made it accurate.
Choose a drawing method that suits your needs
Graph paper is a straightforward option for a low-tech draft. Use its grid to keep lines consistent, and revise the drawing as you confirm dimensions. Digital drawing tools can make labels, resizing and repeated edits easier. If you’re preparing a property listing and presentation quality or time is a concern, consider having the plan professionally prepared.
| Method | Effort | Editing ease | Suitability for a listing |
|---|---|---|---|
| Graph-paper sketch | Hands-on drafting | Simple to mark up, but redraws may take time | Useful as a clear draft; presentation depends on the finished drawing |
| Digital template or drawing tool | Time to learn the tool and enter measurements | Often convenient for changing labels and layout | Can work if checked carefully and presented clearly |
| Professionally prepared plan | Less drawing work for you; requires arranging preparation | Ask how corrections can be made | An option when a polished listing presentation matters |
No method guarantees accuracy. Your measurements and review are what keep the plan faithful to the home.
Add scale, labels and visual hierarchy
Use consistent line styles for walls, openings and other features, and include a key if any symbols might be unclear. Keep room names and dimension labels readable, with enough space that they don’t crowd the drawing. Use the same names throughout, such as “living room”, rather than switching between labels for the same space.
As you decide how to create a property floor plan, aim for clarity over decoration. Buyers should be able to find room names, understand proportions and follow the layout without having to decipher the page.
How to check a DIY property floor plan before sharing it
A DIY floor plan can be useful for property marketing if you check the measurements and describe the plan’s limitations honestly. A polished appearance is no substitute for accurate dimensions or a layout that reflects the home. Treat your drawing as a guide to understanding the spaces, not as a technical document. If you need it for a technical purpose, check the requirements with the relevant professional or organisation first.
A practical accuracy check before you publish
Before adding the plan to marketing materials, compare it with your notes and the home itself. Re-measure a selection of rooms, including any with unusual shapes, and confirm that the figures match. Then check the positions of doors, windows and stairs, along with the connections between rooms. A second pair of eyes can help: ask someone unfamiliar with the property to follow the layout and point out anything confusing.
- Dimensions: Do the figures match your recorded measurements? Are approximate dimensions clearly identified?
- Layout: Are the room connections and positions of openings and stairs represented correctly?
- Labels: Are room names consistent and easy to read?
- Interpretation: Can someone unfamiliar with the home understand the plan without your explanation?
Common floor-plan mistakes and how to avoid them
Awkward corners are easy to simplify by accident. Don’t guess their shape or leave out a fixed feature if doing so could change how a buyer understands the room. Check that labels and dimensions remain readable, and make sure decorative elements don’t compete with the layout.
Be clear about what you’ve measured and what you’ve estimated. If some figures are approximate, say so plainly. Don’t present estimates as verified measurements. If a room’s shape or a dimension is uncertain, revisit it before sharing the drawing. An honest limitation is more useful than false precision.
As you decide how to create a property floor plan for a listing, remember that a DIY draft can be a helpful starting point, while a professionally prepared plan may suit sellers who want a more polished presentation. Kincade International Direct Sales offers floor plans as part of its property marketing services. Check the current scope and process if you’re considering this option.
For help preparing a property listing, contact the team about your listing.
How to use your finished floor plan in a property listing
A finished floor plan helps prospective buyers understand how the home fits together, while photography shows its appearance and atmosphere. Use the plan to add spatial context, not as a substitute for images. A buyer might see the kitchen in a photograph, then use the plan to understand how it connects to the dining or living area.
Before sharing the plan, check that it still reflects the property and that room names match the wording in the listing. If changes have been made since you measured, update the plan or arrange a fresh check. Sellers preparing the rest of their sale materials may also find this step-by-step guide to selling your own home helpful.
Prepare a floor plan for listing photos and property details
Choose a clean version that stays legible on a screen, where buyers may view it at different sizes. Keep room labels and dimensions clear, and avoid squeezing in decorative details that distract from the layout. Use consistent names across the plan and property details so readers don’t have to guess whether “family room” and “living room” refer to separate spaces.
Pair the plan with photographs that help people connect the layout with the rooms themselves. A photo can show the outlook from a bedroom, for example, while the plan explains where that bedroom sits in relation to the bathroom and living areas. Together, they offer complementary information and help buyers build a more complete picture before arranging an inspection.
When to ask for professional floor-plan support
Consider professional help if the layout is complex, you’re short on time, or you want a more polished asset for your listing. Before agreeing to a service, ask what measurements are taken, what review or checking steps are included, and what final materials you’ll receive. Confirm the current scope and process rather than assuming every provider prepares plans in the same way.
Kincade International Direct Sales’ property marketing services include floor plans, photography and residential property listings. If you’re deciding how to create a property floor plan for your sale, start with your own measurements, then consider what support would make the presentation clearer for buyers.
For questions about presenting your home for sale, find out more about property marketing support.
Present your property with a clearer picture
A useful floor plan doesn’t need elaborate design; it needs to represent the home faithfully. As you consider how to create a property floor plan, focus on recording measurements carefully, showing how rooms connect and checking the drawing before sharing it. A consistent scale and clear labels help buyers interpret the layout, while photographs add visual detail a plan can’t provide.
You can begin with a hand-drawn sketch, then decide whether a digital version or professional preparation better suits your listing. Kincade International Direct Sales offers floor plans alongside professional photography and residential property listings, bringing key marketing elements together. Check the current service scope and process to understand what’s included.
A thoughtful plan can make it easier for prospective buyers to picture the home and decide whether it may suit their needs. Discuss your property marketing needs with the team to take the next step towards presenting your home with confidence.
Frequently Asked Questions
How do you create a property floor plan yourself?
Start by sketching the home’s overall shape, then measure each room and note its position, doors, windows, stairs and fixed features. Record measurements in metres and label each space as you go. Transfer your notes to graph paper or a digital drawing tool, keeping proportions consistent if you’re working to scale. Before sharing the plan, compare it with your measurements and check that someone unfamiliar with the home can follow the layout.
What should be included in a property floor plan?
Include clearly named rooms, their relative positions and dimensions you’ve actually measured. Show doors, windows and stairs, along with built-in features that affect how people use or move through a space. Add a garage or outdoor area if it helps explain the property, and label it clearly. Focus on details that help readers understand the layout. Unnecessary decoration or unsupported measurements can make the plan harder to interpret.
Can I draw a floor plan without special software?
Yes. Graph paper, a pencil, a ruler and your measurements are enough to create a useful hand-drawn plan. Use the grid to keep walls and room proportions consistent, and leave space for labels and dimensions. If you need to change the drawing, make corrections legibly or redraw it. Digital tools are optional. They can make editing easier, but they don’t replace careful measuring and checking.
How do I measure a room for a floor plan?
Measure the room’s length and width from wall to wall, using a tape measure or laser distance meter, and write each figure down immediately. Keep measurements in metres and note where each one was taken. For an alcove, angled wall or irregular room, record extra lengths to show the shape rather than treating it as a simple rectangle. Measure door and window positions too if they clarify access or how the room is arranged.
Does a property floor plan need to be drawn to scale?
A plan for personal reference can be a rough sketch, but consistent scale makes proportions easier to understand. Scale means drawn lengths represent real measurements in the same ratio throughout the plan. For example, if 1 cm represents 1 m, a 3 m wall should be drawn 3 cm long. Label dimensions clearly, and remember that a scaled drawing can still be inaccurate if its measurements or layout are wrong.
Should I make my own floor plan or hire a professional?
Make your own plan if you can measure the spaces carefully and need a straightforward drawing for general understanding. Consider professional preparation if the layout is complex, you’re short on time or you want a polished asset for a property listing. Before engaging a provider, ask what measurements, checking steps and final materials are included. A marketing plan isn’t automatically a technical drawing, so check requirements for any other intended use.
How can I check whether my floor plan is accurate?
Compare the drawing with your notes and re-measure rooms where a figure seems uncertain, especially spaces with unusual shapes. Check that room connections, doors, windows and stairs appear in the right places, and make sure labels match the property details. Then ask someone unfamiliar with the home to interpret the plan. If any dimensions are estimates, identify them clearly rather than presenting them as measured figures.